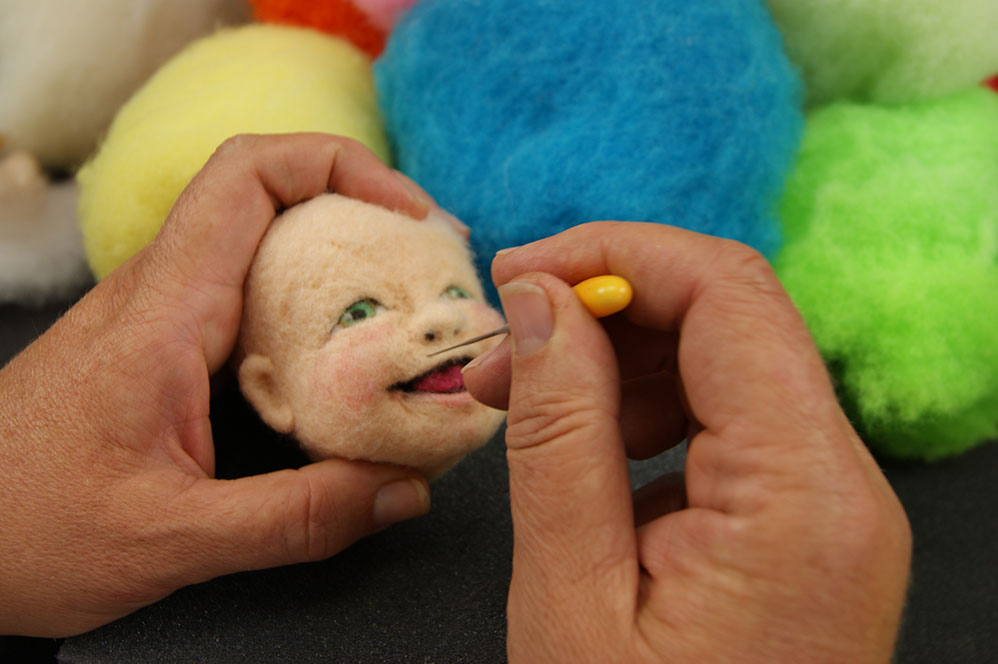
How much wool do I need for needle felting? It’s a question I get asked often. Wool is typically sold by the ounce – and since I primarily use wool batting (rather than roving) I’ll talk about that.
An ounce of lofty wool batting will fill a 2 cup measuring container. Depending on how dense or firm you felt, this ounce of wool can stay nearly this size or can be felted down into the size of a walnut. (this kind of size reduction takes many hours, can cause needle breakage as well as hand fatigue as the felt gets really dense.)
For my projects and my style of felting, a twelve inch doll typically weighs about 3-5 oz. Since my dolls are solid needle felted wool (no wire armatures or sewn fabric clothing) that’s how much wool it takes to make a doll. The bulk of my dolls are the core parts that I felt with my un-dyed core wool batting – I plan on using two ounces of core wool for each project and then another two ounces of a skin color. The remaining weight (if any) comes from the wool I use to needle felt the clothing to the doll and the wool I use for hair.
For a 3 ” Pixie, it takes less than an ounce!
I hope this gives you some idea of where to start when asking yourself “how much wool do I need for needle felting?”
This needle felting tip – bag the head is a trick I’ve developed over the years to protect the head/face of my needle felted dolls while I’m finishing up their bodies.
It looks rather gruesome but tying a plastic bag over the head of a needle felted doll in-progress keeps it pristine as you work and if you poke little breathing holes in, you won’t feel so bad.
Oh – sorry, Mr. New Orleans blues legend Dr. John, for exposing you on the ‘operating table’. 🙂
Here he is all finished and dapper!! (and so relieved he can finally breathe easy with that bag off his head.)
Let’s face it, felting needles are sharp and must be used with caution. Poking yourself and breaking your sharp, fragile felting needles are both inevitable when needle felting but they should be rare occurrences. It is important to learn the basics on the use and care of felting needles. Once you break your felting needle, there is no way to fix it or keep using it – it’s done. I’ll be the first to admit that when I first got started needle felting, I broke so many needles but even worse, my fingertips felt pincushions. I quickly realized that if I was going to continue on with this addictive craft I was going to have to figure out what was going wrong.
Here are a few tips and tricks that have helped me save my needles and my fingers.
Work Area Set up your work area on a sturdy table with good lighting. Curling up on the couch with a bunch of wool and sharp felting needles is fraught with danger.
Work Surface You’ll need some sort of a felting pad to work on on. While it’s tempting to hold your project in your hand while needle felting, it inevitably leads to injury and needle breakage. I like dense poly foam to absorb the jabs of the felting needles while keeping my project stable and bounce-free. I avoid foam like styrofoam (messy) or thick upholstery foam which makes for a bouncy work surface which leads to needle breakage and accidents. Also, focusing on a project that bounces with each jab makes for bleary, weary eyes.
Grip The tighter you grip your needle, the worse it will be if you miss your mark. Hold your needle just a lightly as you can. As the wool begins to felt and the surface gets dense, you will find yourself gripping tighter to pierce your needle into the wool. Switching to a finer gauge needle is the solution here. Also, hammering away at your project swinging your whole forearm is a recipe for disaster. I always rest the hand I use to hold my needle on the edge of my felting pad with the relaxed jabbing motion coming from my wrist and fingers, not my elbow.
Speed / Depth With so many needle pokes to turn wool into felt, it is natural to think faster is better. It’s not always the case. Going fast is ok as long as you take really shallow jabs, only piercing the first 1/8″ of your felting needle blade into your project. You lose control with fast, deep jabs and the faster you go, the more needles you break and the more it hurts when you miss your mark.
Control The fragile blade end of the needle is the working part. If you see it bending and flexing as you work, you should adjust your methods so the needle glides in and out of your project with as little strain as possible. If you feel resistance as you work – if you feel the needle is getting difficult to pierce into your project – it’s very important to change to a finer gauge needle that glides in easier, saving you from fatigue, injury and needle breakage.
Angle I find it very effective to change the angle of the needle as I’m jabbing. The wool seems to felt faster that way. I always make sure to pull the needle back the same way it went in as it’s very easy to break off the tip of the needle in my project.
Density There are no rules about how tight or densely felted you should make your projects. I’ve seen everything from barely felted wool art to wool sculptures that are so densely felted they feel more like clay sculptures than wool sculptures. There are no rules but the firmer you make your needle felted projects, the likelier it is that you will break more needles.
Relax. Worrying about stabbing yourself makes you tense. I can’t stress this enough. Needle felting is a calm, relaxing experience, but a needle jab or the dreaded ‘snap’ of a needle breaking is the best way to interrupt that.
I hope these tips help you with The Use and Care of Felting Needles!
Watch me needle felt a basic shape out of Core Wool using my Yellow 40t Felt Alive Felting Needle
Watch all of my videos to learn how to work with the needles for a relaxing and safe needle felting experience!
Needle Felting Doll Clothes, when a Fig (oak) leaf isn’t appropriate…
Felt Alive’s Guide to Needle Felting Doll Clothes
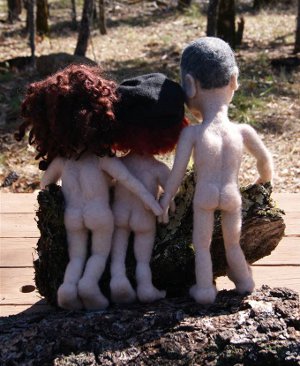
I’ll be the first to admit, my dolls LOVE being naked. They really do seem to enjoy their new little bodies. But in felt, as in life, sometimes we simply must get dressed.
It is easy to make needle felted clothing (watch a video) with clean edges for hems and even firm soles for shoes; needle felting it all right into place.
Clothing my dolls is very exciting, it seems like with each ‘outfit’ I create, I’m learning and developing new techniques.
No sewing is needed – ever!
The clothes hang loose and shoes look like they can be removed. But they are securely needle felted in place. Using quality wool helps me bring my ideas to life. Getting my dolls dressed is such a big part of developing their characters and making them literally ‘Felt Alive.’ I rely on wool that will behave exactly like I need it too.
Using wool that isn’t ideally suited to sculptural needle felting might leave my sharp-dressed men a little less sharp. And there would certainly be less of them. Needle felting with wool that felts up fast and neat with a felting needle leads me a little quicker to my ultimate delight in needle felting – falling in love with my new wool friends.
Wool Batting
Batting comes in sheets, rather than ropes (like roving or top) it’s is a great choice for making needle felted doll clothes using flat felting techniques. I typically start clothing out on the felting pad and felt the components flat making clean edges for hems, leaving loose fibers to needle felt right to the dolls.
Wool Batting is a fun choice for needle felted doll clothes.
These Felt Alive Dolls are all dressed to the nines in with clothes needle felted from wool batting.
Needle felted accessories? Hal, The Tourist even has a camera made from wool batting!
And Mac, well, Mac is pretty happy with his kilt and sporran needle felted with wool batting. Merino Roving came in handy for creating the plaid pattern. His happy face shirt and boots are also made using batting!
Merino Prefelt!
Sheets of partially felted wool that I use often for clothing my dolls. It works great because it is, essentially, thin sheets of batting but a needle felting machine started the process for us!
If you are embellishing and need clean edges, cutting the merino batting gives a great result as you needle felting it in to your piece.
If I want a clean edge that hangs loose it’s a good idea to finish the edge by folding a hem under and felting it flat. I find if I ruffle the edges with a strong sewing needle, the edge felts in nicely.
Prefelt sheets are not fully felted, meaning there are still loose fibers that can be felted – needle felted right into projects. with no seams showing at all.
Li’l Saige’s shirt and shoes are made from Merino Prefelt.
His shorts are made with wool batting (and his hair is Merino roving.)
The details of his “FA” (Felt Alive) shoes were simple using tiny letters cut from prefelt and needled right into the shoes.
Li’l Jessica looks so cute in her jumper made with Merino Prefelt
Jim Timmie got dressed in my Needle Felted Dolls video workshop using prefelt for his shorts and his shoe.
He lost his other shoe so you could learn how to make bare feet and feet with shoes!
Because our prefelt is made of fine merino wool, I recommend using our fine and fast Blue 40 star felting needles. the Double or Quad Point blue needles work great for finishing up the work that the machine started without leaving big holes in this fine wool.
Small bits of prefelt can even be fluffed right up with your fingertips (or a sharp sewing needle) and you will find yourself with messy batting to use for eyes, teeth in shading. The white pre felt can be used in place of our Short-fibered white merino batting in all of my video workshops as long as you fluff it up first.
I have been up against a challenge ever since I started needle felting of learning how to capture my work in the best light. I am finding that nearly as much as I love creating needle felted characters, I love taking pictures of them. My favorite lighting is natural lighting and my favorite backdrop is my gorgeous Alaskan scenery but I feel it is important to get several excellent, high-res shots of each piece in a controlled studio setting. But how?? So, like most things I’m curious about, I turned to the internet. After much research, I finally have a solution. It is called a light box or a light tent.
My nephew made mine out of PVC conduit and unions. It comes apart for easy storage. I just have a plain white sheet to drape over the top – this filters the light – and I purchased a Flotone photographic backdrop that graduates from black to white. I use this as a sweep and stand my work right on the backdrop – this gives a seamless, wrinkle-free background. I think it gives professional look to my photos. Beside that – I have two 300 watt clamp lights to shine light in from either side to control or even eliminate shadows.
Here is a photo of one of my dolls, Evelyn making her debut in the light box. And in this photo – I didn’t even need to turn on my lighting – I have a nice, bright studio and this was taken on a lovely, sunny day.
You must be logged in to post a comment.